Working with multiple cameras in Blender is very common in animation, cinematics, and even product visualization.
You might want one camera for a wide shot, another for close-ups, or different angles for a car animation or architectural scene.
In this article, you’ll learn how to switch between cameras in Blender using timeline markers.
1. Understanding the Active Camera
In Blender, only one camera can be active at a time.
- The active camera is the one used for:
- Rendering
- Camera View (Numpad 0)
- You can have many cameras in the scene, but Blender renders only the active one.
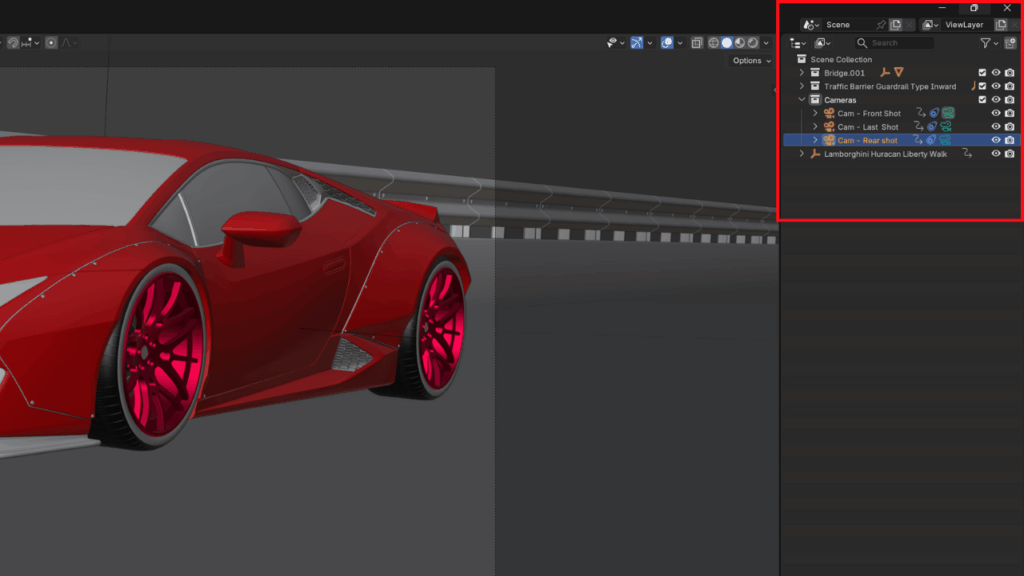
👉 The active camera is usually highlighted with a darker camera icon in the Outliner.
2. Switching Cameras Using Timeline Markers (Animation Method)
This is the most professional and recommended method for animations. It allows Blender to automatically switch cameras at specific frames.
Step-by-step: Camera Switching with Markers
1. Add multiple cameras to your scene
Create as many cameras as you need and position them properly.
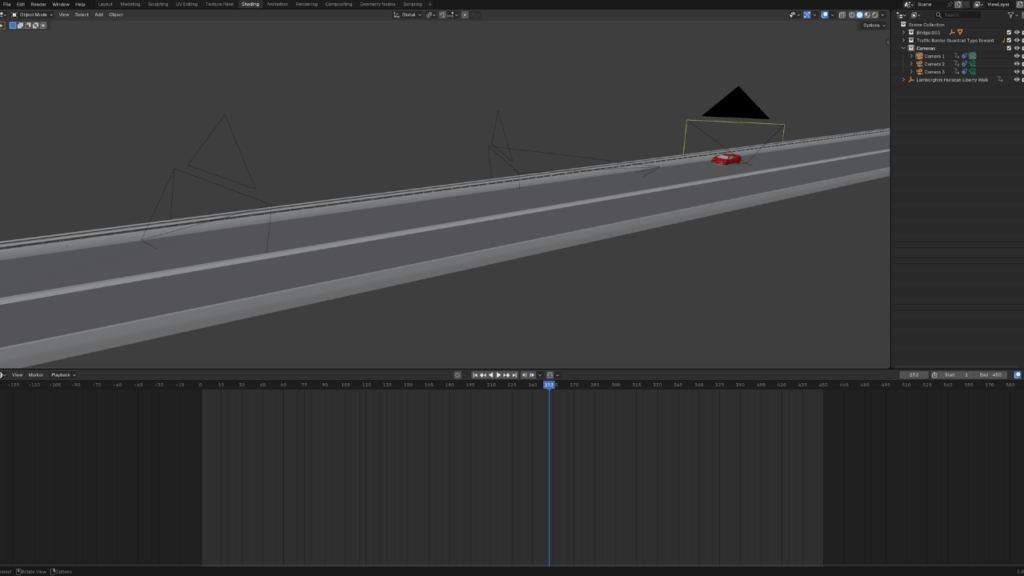
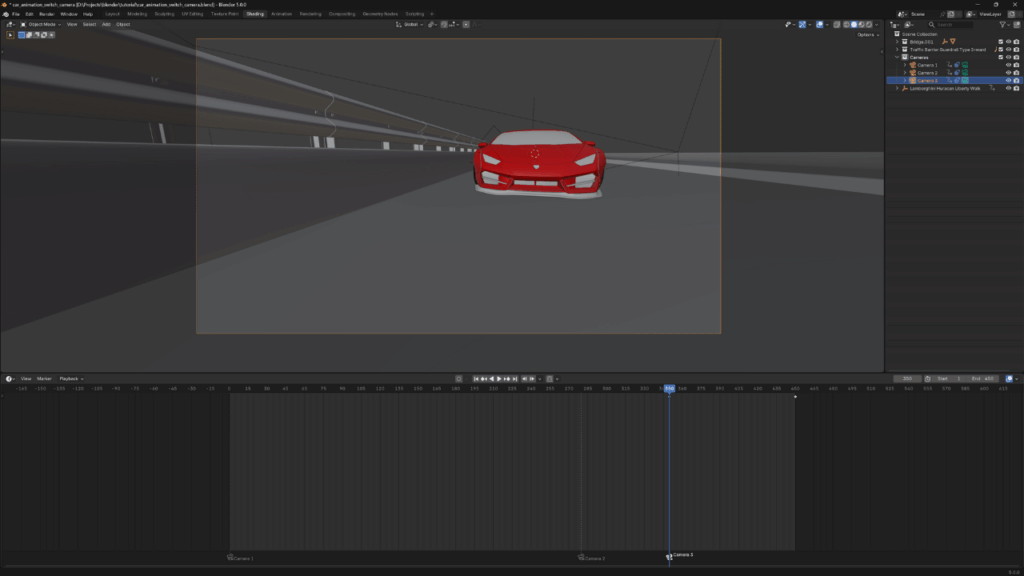
2. In the Timeline, move the playhead to the frame where the camera should change
For example:
- Frame 1 → Camera 1
- Frame 120 → Camera 2
- Frame 250→ Camera 3
3. Add a Marker
- In the Timeline, press M or go to Marker > Add Marker
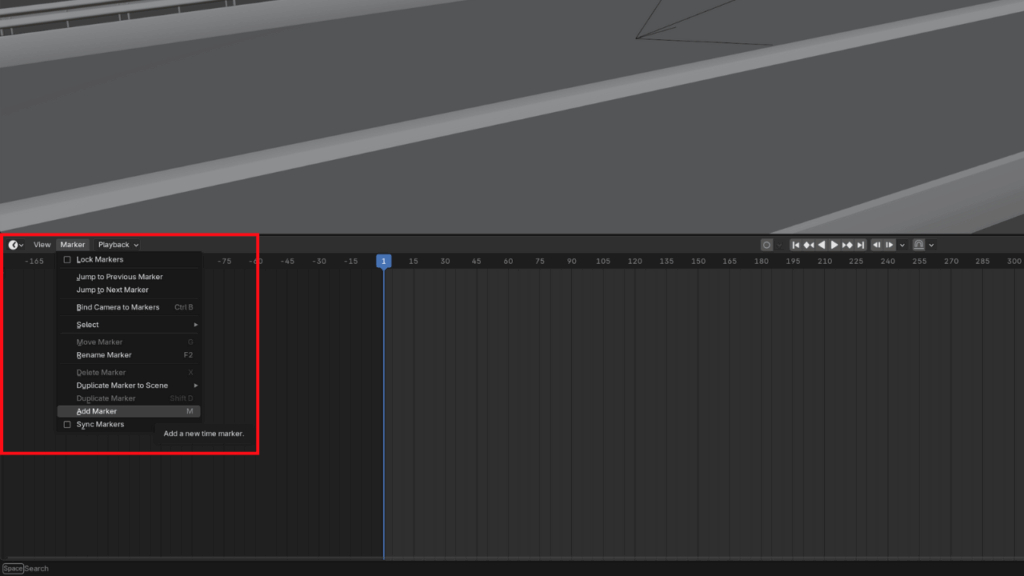
- A marker will appear at the current frame
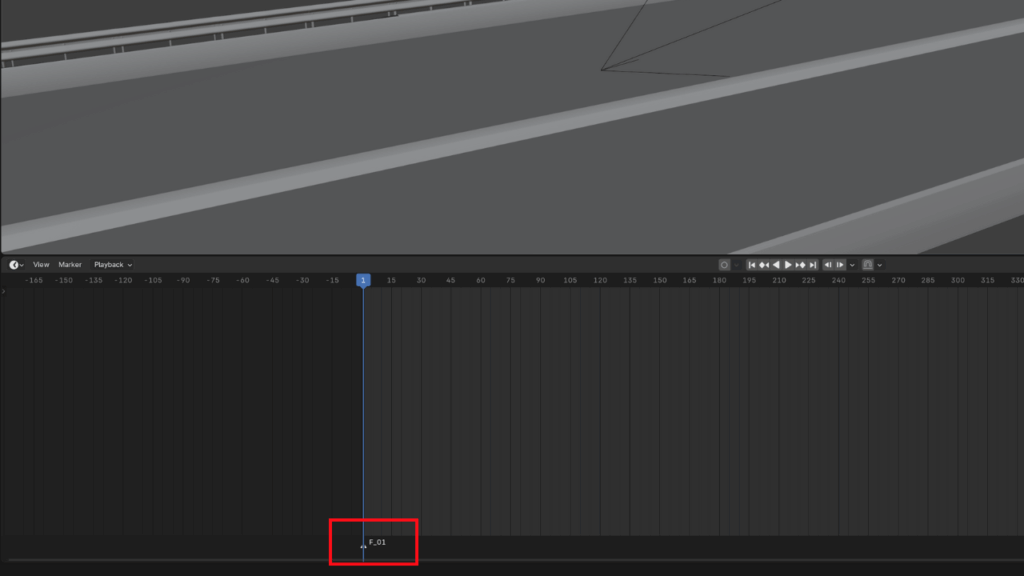
4. Assign a camera to the marker
- Select the marker (It will be automatically selected after you create it)
- Select the camera you want in the Outliner
- In the Timeline, press Ctrl + B or go to Marker > Bind Camera to Markers

📌 Blender will now switch to that camera automatically when the playhead reaches that frame.
- Repeat the process for each camera of your animation
3. Common Mistakes (and How to Avoid Them)
❌ “My render uses the wrong camera”
✔ Make sure:
- Markers are correctly assigned
- You selected the right camera before binding it
❌ “Camera doesn’t switch during playback”
✔ Check that:
- You are in Camera View
- The marker has a camera assigned (It will have a camera icon)
4. Bonus Tip: Organizing Cameras
For complex scenes:
- Rename cameras clearly
Example:- Cam_Wide
- Cam_CloseUp
- Cam_Side
- Use Collections to group cameras
This makes camera switching much easier and less error-prone.
Conclusion
Using timeline markers to switch between cameras is the most reliable and professional way to work with multiple cameras in Blender.
By assigning cameras to markers, you allow Blender to handle camera cuts automatically, keeping your animation clean, predictable, and easy to adjust. This approach is especially useful for cinematics, car animations, walkthroughs, and any scene where timing and camera changes matter.
Once your markers are set, you can focus on refining camera motion and composition instead of manually switching cameras. If you need to change the timing of a cut, simply move the marker, no extra keyframes or setup required.
If you prefer learning visually, you can also watch the full video tutorial that walks through this process step by step:
👉 https://youtu.be/XfEup_Iby5Q
I recommend this Blender course for artists who want to improve modeling, materials, lighting, and rendering skills.