Introduction
Rigging wave-like motion in Blender is much easier than it looks, and the secret is a single constraint: Damped Track.
In this tutorial, I’ll use a fish model to demonstrate, but the same technique works for anything that moves in a wave: ropes, tails, snakes, tentacles, and more.
In this tutorial, you’ll learn:
- How to add and prepare an armature for your model
- How to chain bones with the Damped Track constraint
- How to parent the mesh and fine-tune the motion
1. Add and Prepare the Armature
🦴 Add the Armature
With your model in the scene:
- Press Shift + A and choose Armature
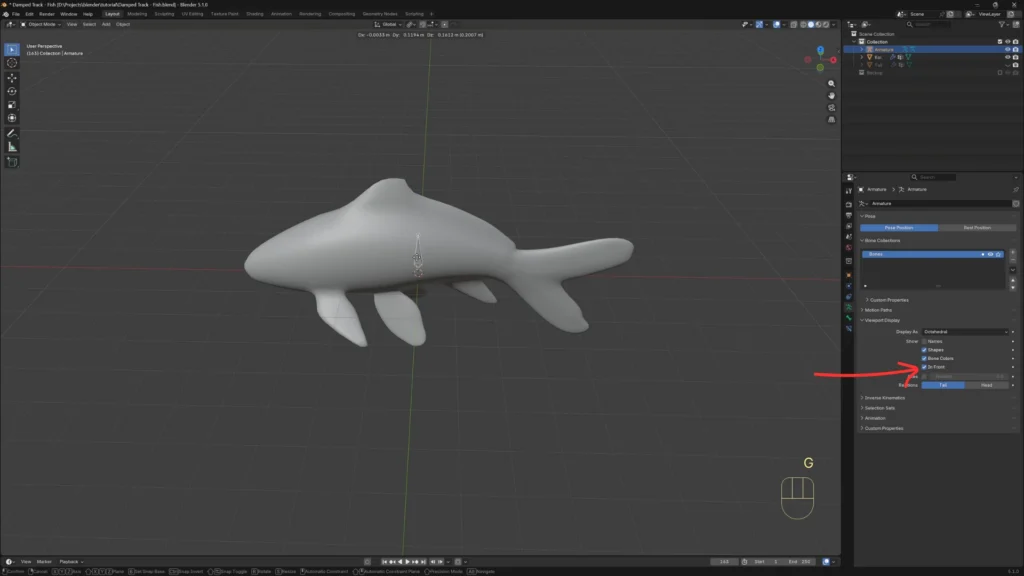
- The bone will be hidden inside your model
To make it visible:
- Makes sure the armature is selected
- Go to Object Data Properties
- Under Viewport Display, enable In Front
✅ Now you can see the bone through the mesh.
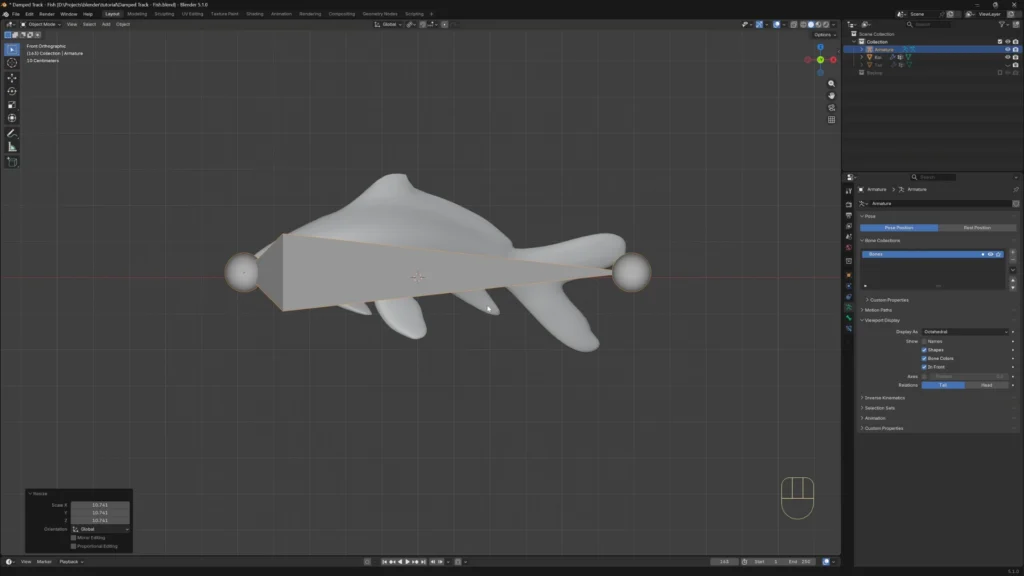
📐 Position and Scale
- Press Numpad 1 to go to front view
- Rotate the armature 90°
- Move it to the head of the fish
- Scale it slightly larger than the model so it’s easier to grab
2. Subdivide the Bone into a Chain
Now we need a chain of bones running through the body.
- Press Tab to enter Edit Mode
- Select the bone
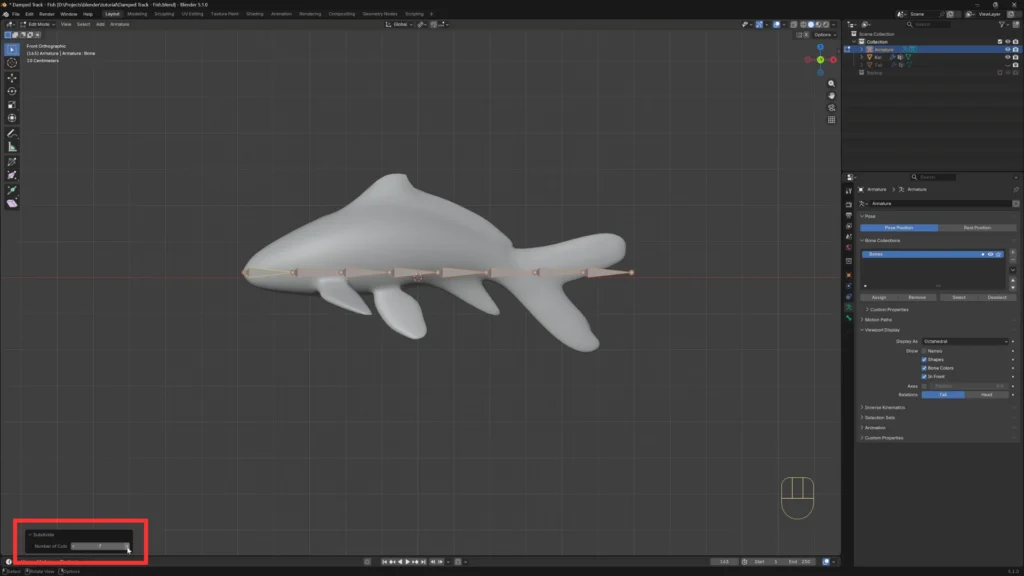
- Right-click → Subdivide
- Open the operator panel and set the number of cuts
For this fish, 7 subdivisions works well — that gives us 8 bones running from head to tail.
👉 More bones = smoother motion, but more setup. For longer subjects like ropes or snakes, feel free to go higher.
3. Add the Damped Track Constraint
This is the magic step.
🎯 Set Up the First Constraint
- Switch to Pose Mode
- Select the last bone (the one in the tail)
- Hold Shift and select the bone right next to it
⚠️ The order matters: the second bone selected is the active one and will receive the constraint. The first one becomes the target.
Now:
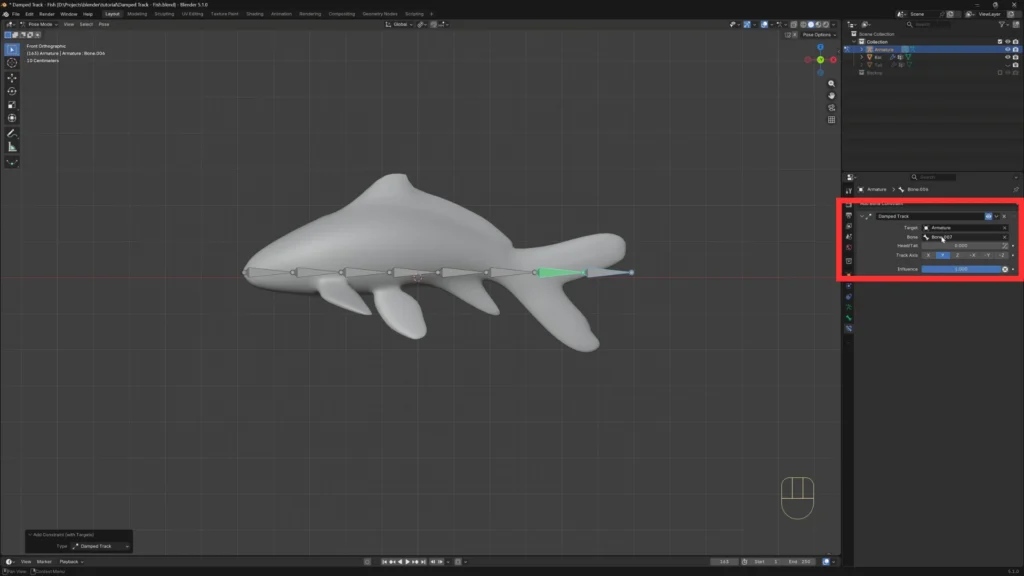
- Press Ctrl + Shift + C to open the constraints menu
- Select Damped Track
✅ The constraint is added to the active bone, and the first selected bone is automatically used as the target.
🔁 Repeat Down the Chain
Now do the same thing for every other pair of bones, moving from tail to head:
- Select the bone closer to the tail
- Shift-select the next bone toward the head
- Press Ctrl + Shift + C → Damped Track
Keep going until you reach the head bone.
👉 Each bone tracks the one behind it — this is what creates the wave motion later.
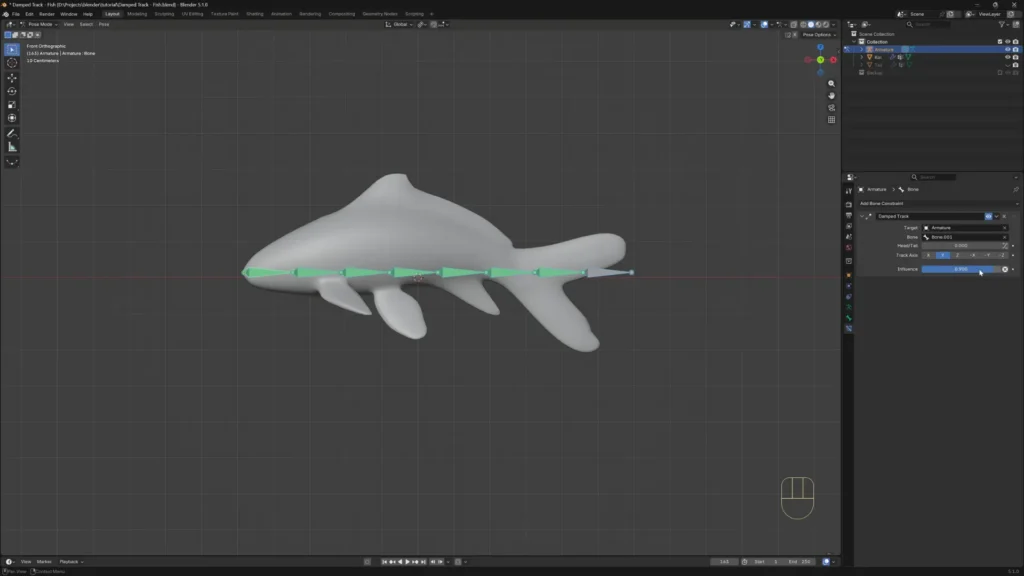
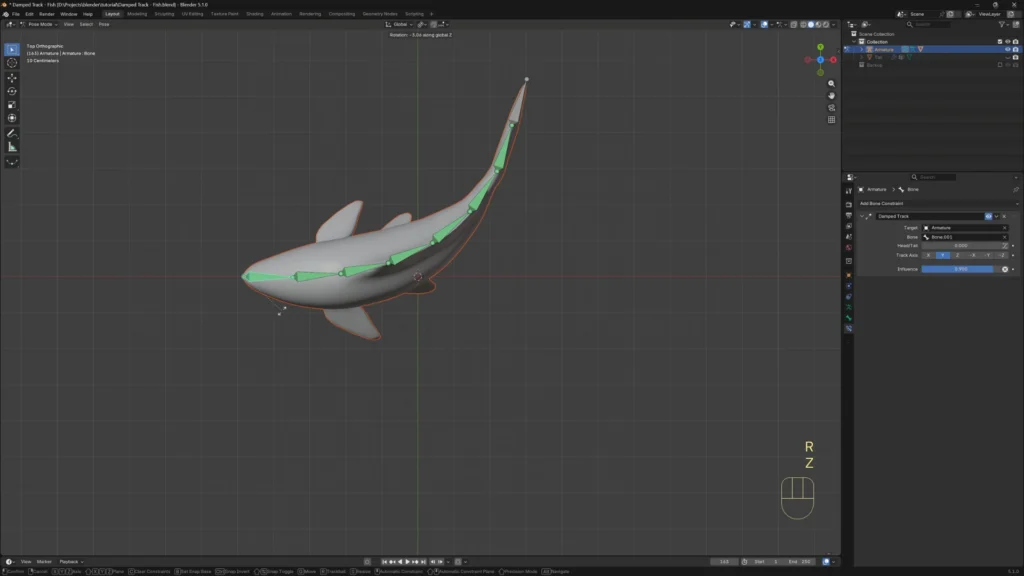
4. Adjust the Influence
By default, the constraints are at full strength and the motion feels stiff. Let’s soften it.
- Press A to select all bones
- Set the Influence to 0.9
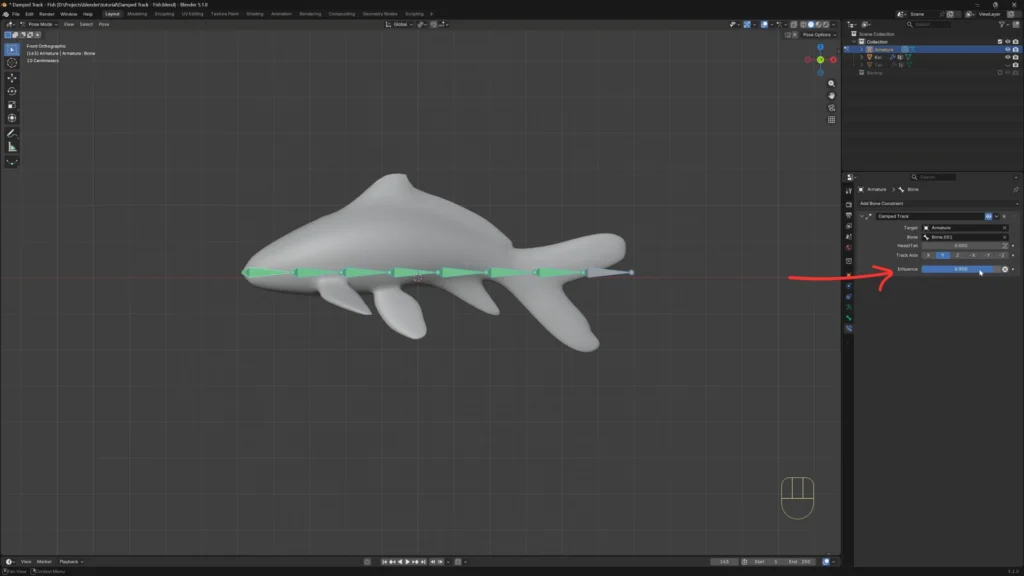
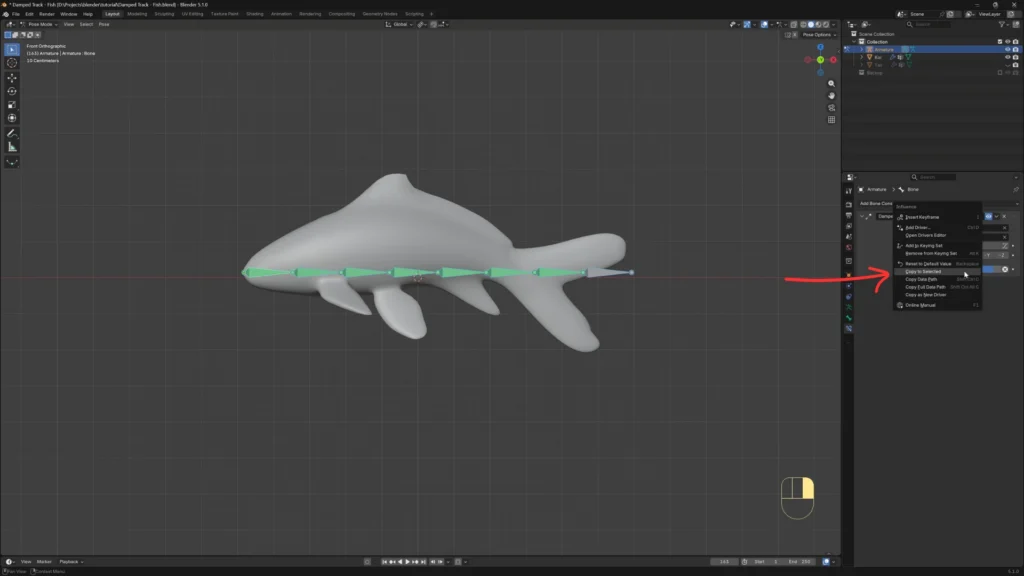
You’ll notice only the active bone updated. To fix that:
- Right-click on the influence value
- Choose Copy to Selected
✅ Now all bones share the same influence.
If you select the head bone and move it, the wave effect already works on the armature.
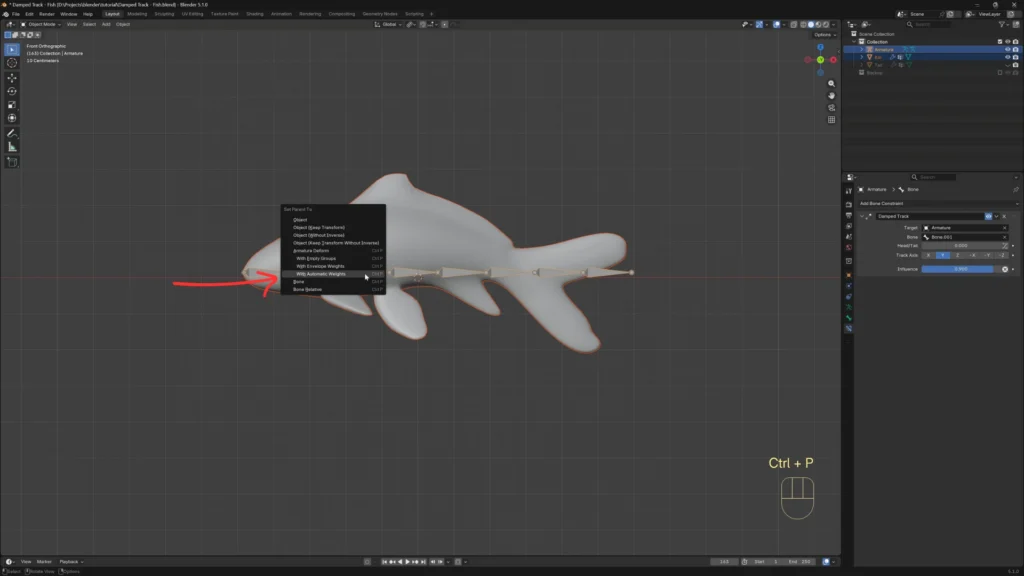
5. Parent the Mesh to the Armature
Time to bind the fish to the bones.
- Go to Object Mode
- Select the fish first
- Shift-select the armature
- Press Ctrl + P
- Choose With Automatic Weights
✅ Blender will figure out which bones control which parts of the mesh.
Now go back to Pose Mode, switch to the top view, and rotate the head bone. The mesh follows the bones with a smooth wave motion. 🐟
💬 Final Thoughts
The Damped Track constraint is one of those small features that unlocks a lot. Once you understand the pattern, chain of bones, each tracking the previous one, you can rig swimming creatures, swinging ropes, slithering snakes, and animated tails in minutes.
Try experimenting with:
- Different numbers of bones
- Different influence values
- Combining it with other constraints for more complex motion
🚀 Next Step
If you want to see the full process in action, you can watch the video below:
▶️ https://youtu.be/cW34Qu7-j3Y
Download the project:
💾 https://artisticasset.com/downloads/damped-track-fish-rig-blender/