Creating your own HDRI (skybox) from a Blender scene is a powerful technique — especially if you want consistent lighting, stylized environments, or to reuse scenes in real-time engines like Unity.
In this tutorial, you’ll learn:
- How to render a 360° HDRI in Blender
- How to use it inside Blender
- How to import it into Unity as a skybox
1. Render Your Scene as an HDRI in Blender
📷 Set Up the Camera
Start by adding a camera:
- Press 0 to enter camera view
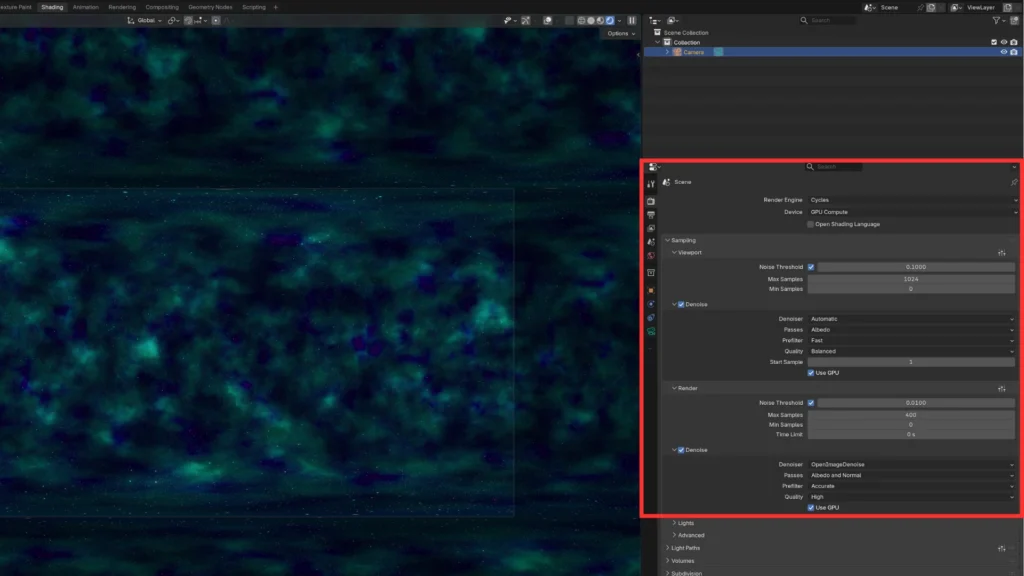
- Go to Render Properties
- Set Render Engine → Cycles
- Change Device → GPU Compute (faster rendering)
Then optimize rendering:
- Reduce Max Samples
- Enable Denoise (Use GPU)
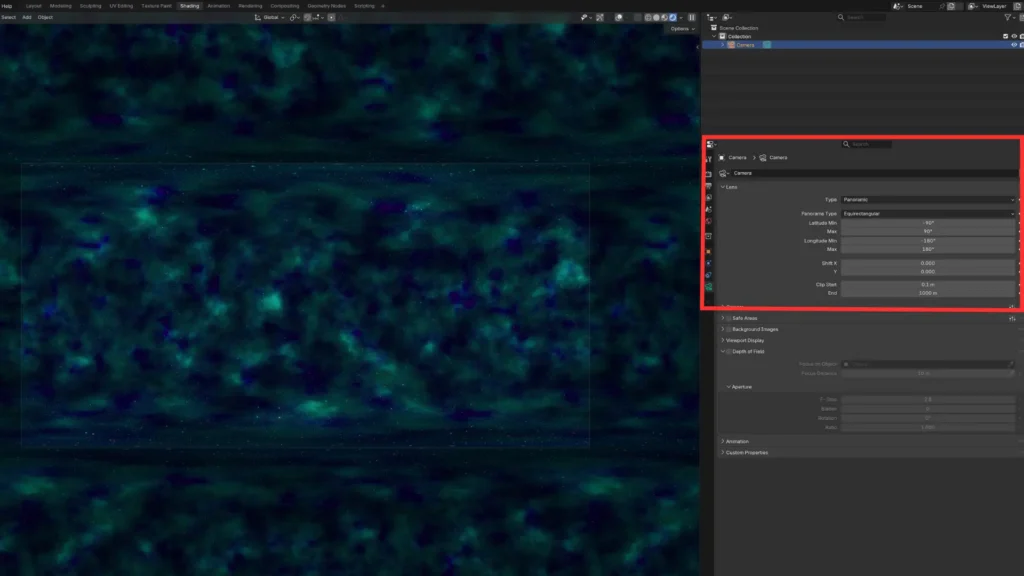
🌍 Enable 360° Rendering
Now the key step:
- Select the camera
- Go to Camera Properties
- Set:
- Lens Type → Panoramic
- Panoramic Type → Equirectangular
👉 This makes the camera capture the entire environment, just like an HDRI.
📐 Set the Correct Resolution
HDRIs must use a 2:1 aspect ratio.
Examples:
- 4000 × 2000
- 8000 × 4000
- 14000 × 7000
👉 The higher the resolution, the sharper your lighting and reflections will be.
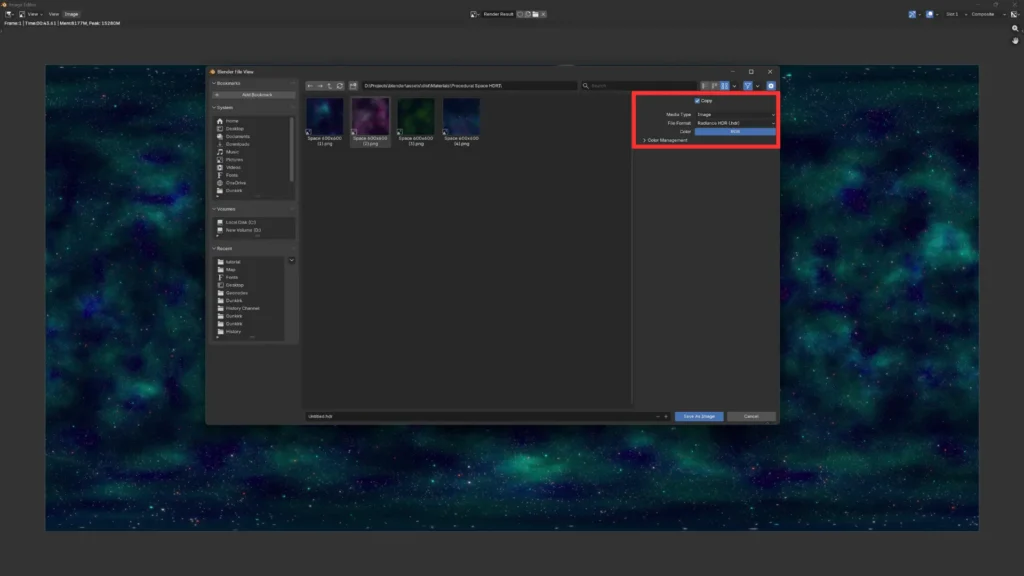
🖼️ Render and Save
- Press F12 to render
- The image will look distorted — this is normal for HDRIs
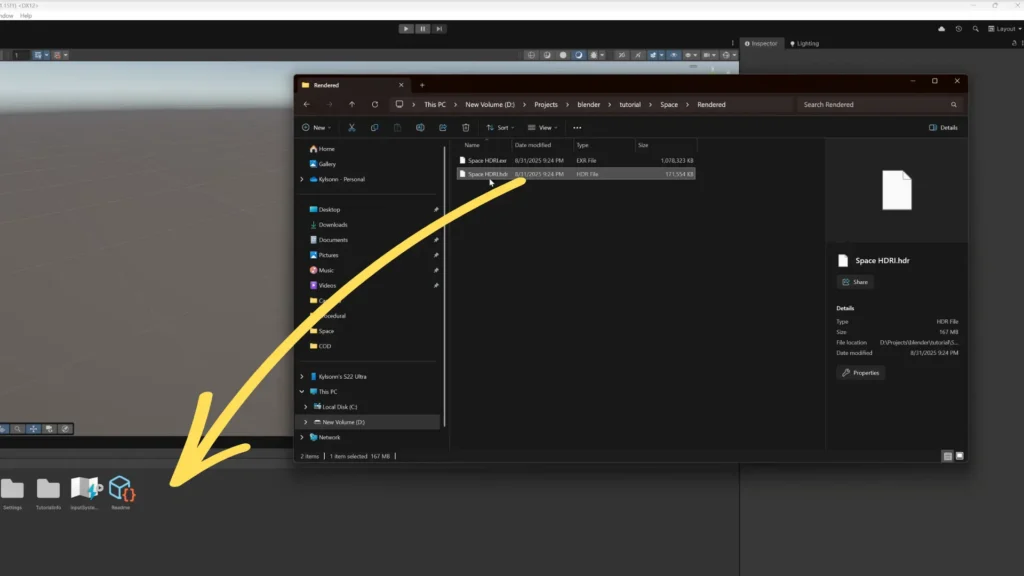
To save:
- Go to Image → Save As
- Choose format:
- OpenEXR (.exr) → higher quality, larger file
- Radiance HDR (.hdr) → smaller, still very good
👉 For most cases, .hdr is enough and more practical.
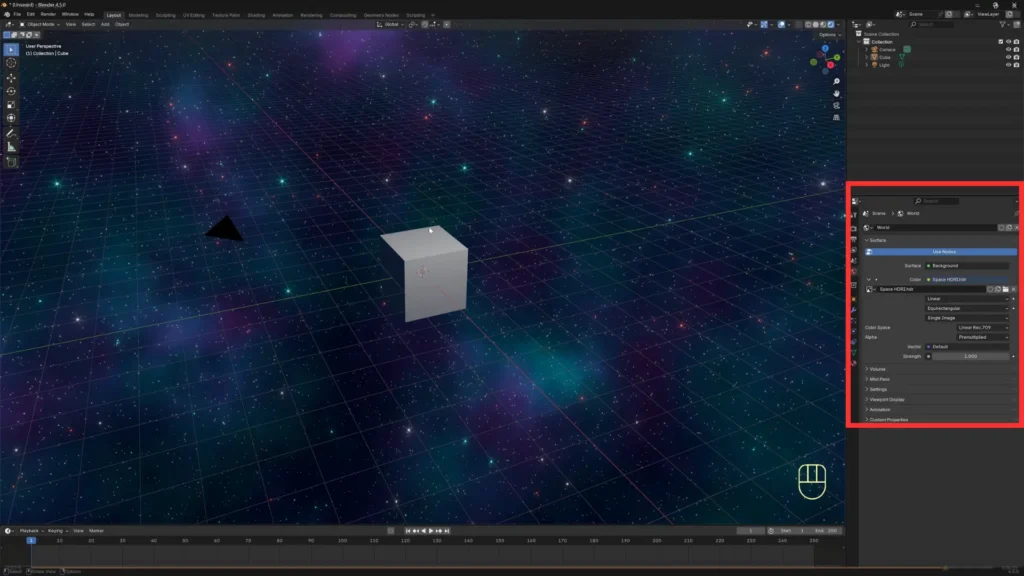
🌐 2. Use the HDRI in Blender
Now let’s reuse your HDRI inside Blender:
- Switch to Rendered Viewport
- Go to World Properties
- In Color, click the yellow dot
- Select Environment Texture
- Click Open and load your HDRI
✅ Done — your scene is now lit using your own skybox.
🎮 3. Import the HDRI into Unity
Now let’s bring it into Unity:
📁 Import the File
- Drag and drop the HDRI into the Assets folder
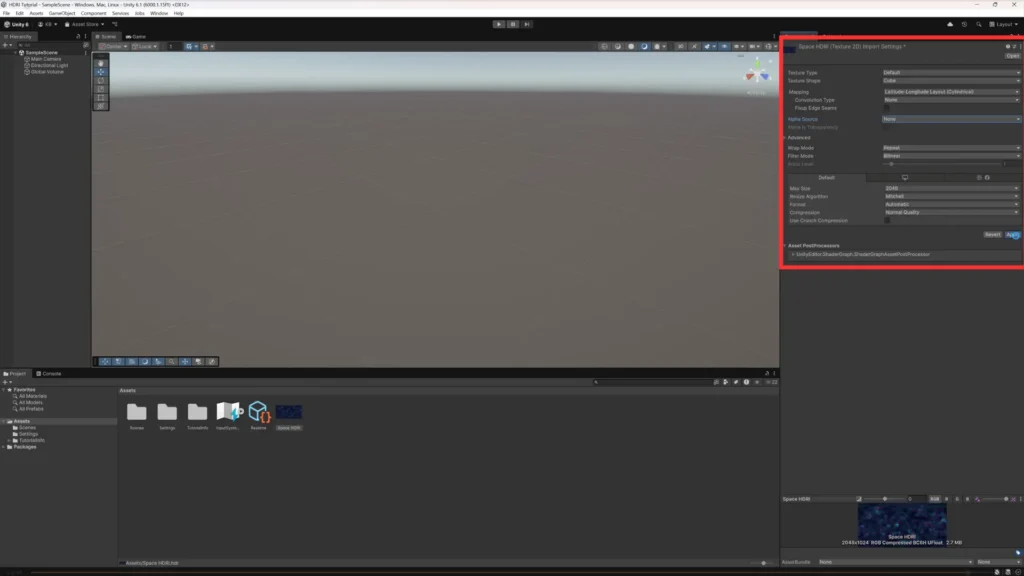
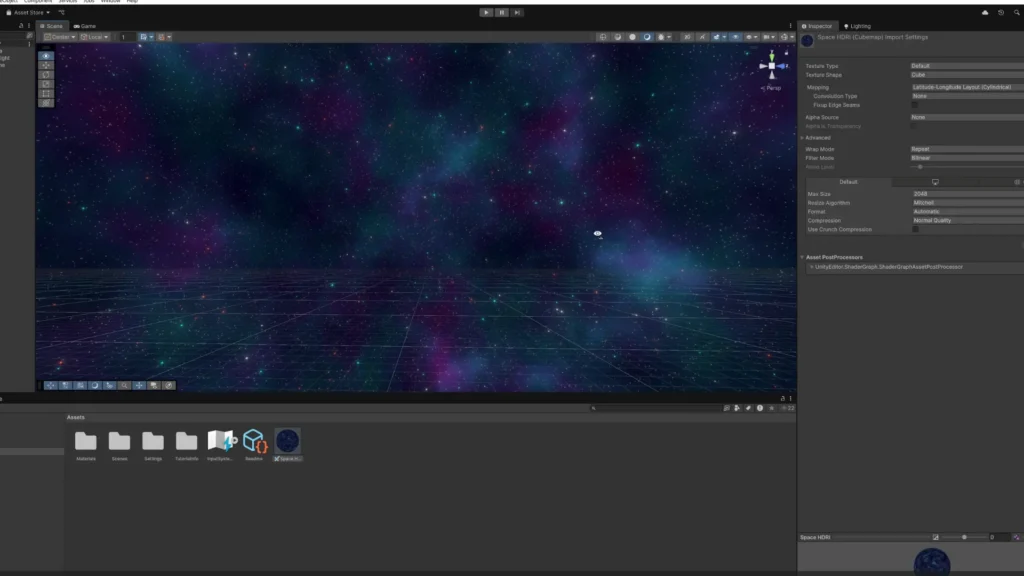
⚙️ Configure the Texture
Select the file and set in the Inspector:
- Texture Shape → Cube
- Mapping → Latitude-Longitude (Cylindrical)
- Alpha Source → None
Click Apply
Drag it into the scene
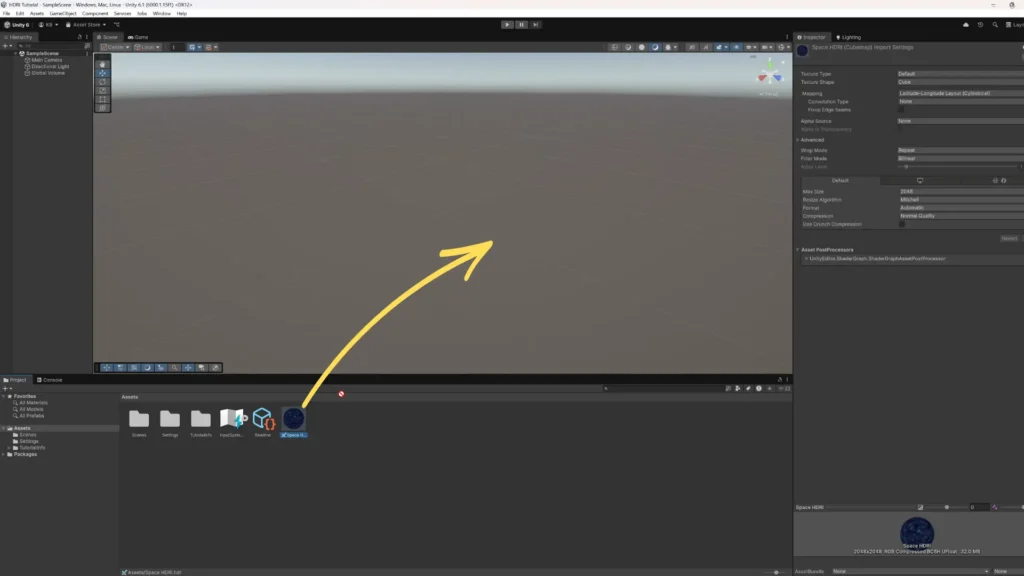
Enjoy
🧠 Why This Workflow Is Powerful
- Reuse Blender scenes in real-time engines
- Create custom lighting environments
- Improve consistency between renders and gameplay
- Great for stylized or anime scenes
💬 Final Thoughts
Rendering your own HDRI gives you full control over lighting and atmosphere.
Try experimenting with:
- Different lighting setups
- Stylized colors
- Day/night variations
🚀 Next Step
If you want to see the full process in action, including creating a Procedural Space HDRI, you can watch the video below:
👉 https://youtu.be/_q-nMPRSOMk
And if you’d like to save time or study the setup, you can download the project used in this tutorial:
👉 https://artisticasset.com/downloads/procedural-space-hdri-blender-world-material/
Feel free to experiment with it and tweak the settings to create your own variations.